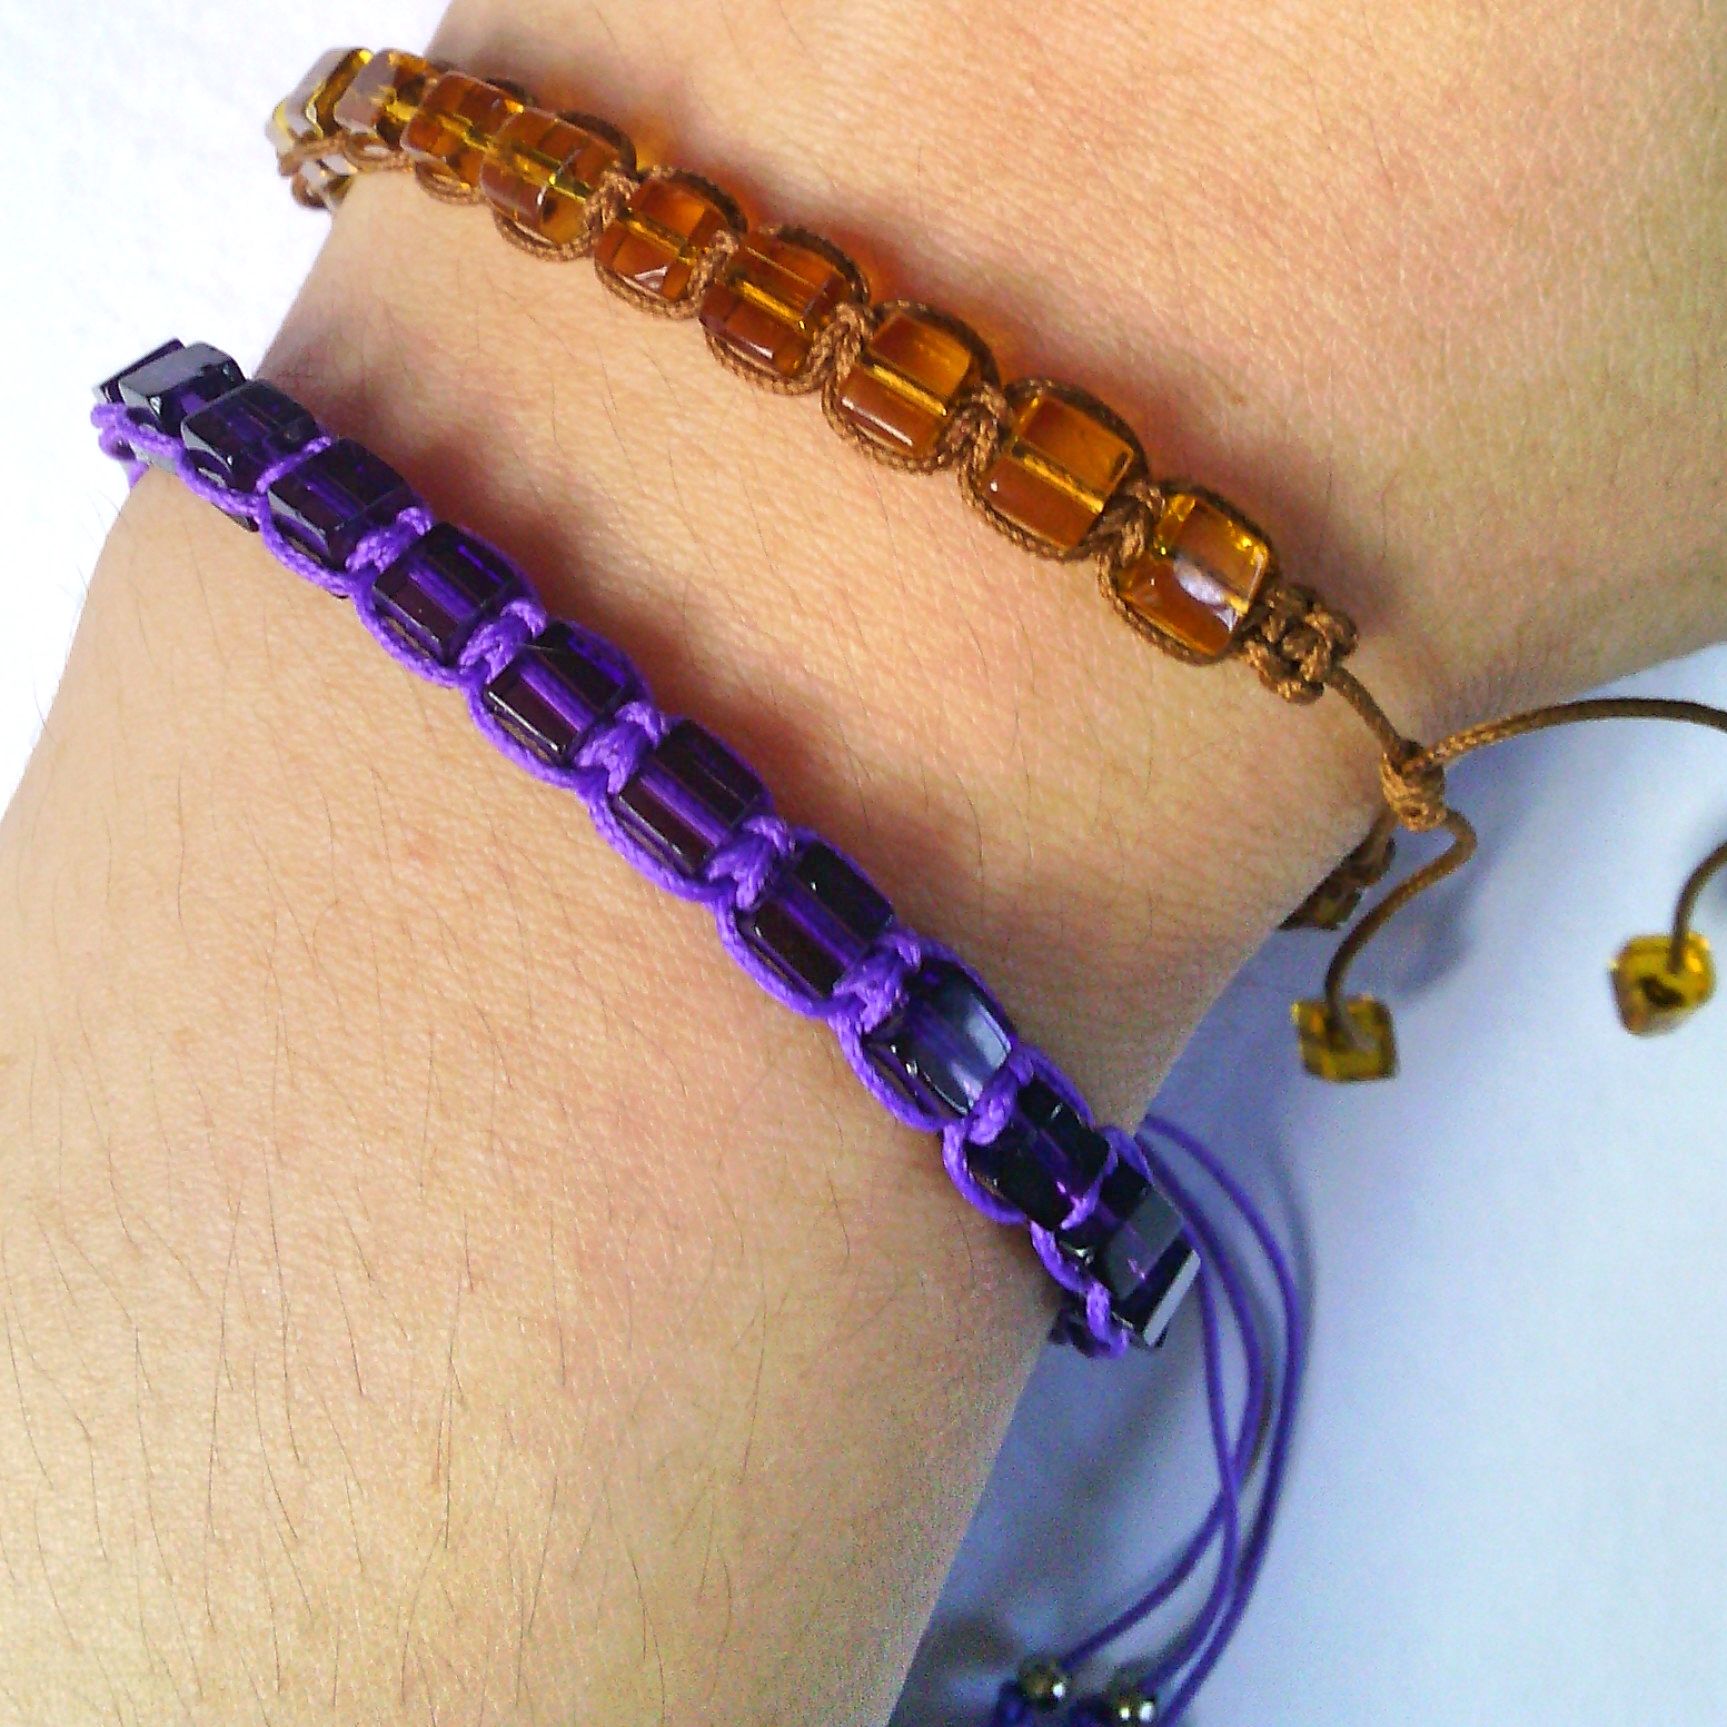
PROJECT 14: CRYSTAL CUBE MACRAMÉ BRACELET
I made this tutorial years ago, which explains the low quality images, when I was organizing my bead supplies and found the damaged beads that I collected and set aside over the years. When buying inexpensive wholesale materials, usually substandard
materials are mixed in with the good, that’s why they’re cheaper. But though the damaged goods may seem useless as it cannot be used for pieces you intend to sell, it feels wasteful to throw them out. So here’s an inexpensive
project to salvage those slightly damaged beads. You can either use them for
yourself, your pet's collars, or sell them at a discounted price, depending on how well you make them.
MATERIALS
26 PIECES
SMALL CRYSTAL CUBES
ONE PIECE 15”
NYLON CORD THREAD
ONE PIECE 45”
NYLON CORD THREAD
CROSS STITCH
NEEDLE
LIGHTER
SCISSORS
STEP 1.
Start with the 15” cord. This will be the base
of your bracelet; you may tape it on the table to prevent it from moving.
Get the 45” cord and fold in half. Mark the
middle and put under the base cord. To start on square knot, bring the right cord over
the base cord. Then bring the left cord over the right cord, under the base
cord and through the loop formed by the right cord.
STEP 2.
Pull
cords together until the knot tightens. Adjust the knot to leave about a 3” tail
from the top.
STEP 3.
Bring the left cord over the base cord. Then bring the right cord over the left cord, under the base cord and through the loop formed by the left cord. Pull together until the knot tightens. Knots made from Steps 1 to 3 makes 1 square knot.
STEP
4.
Repeat steps 1 to 3 to create 2 square knots.
STEP 5.
Insert a bead on the base cord (15”) and slide up to the knot. Make one square knot, add in another bead, then another square knot. Repeat for all 24 beads.
STEP 6.
After the
last bead, make two square knots instead of one.
STEP 7.
Take the cross stitch needle and insert the two
cords through the eye. You can do one cord at a time if they’re too thick.
STEP 8.
Decide which will be the backside of your
bracelet and thread in the needle back through the last knots, placing them in with the base cord, and pull to
secure. Knots will loosen some so adjust as needed.
STEP 9.
STEP 13.
Pull to tighten, adjust the knots as you pull
to secure. This is a fixed knot that will anchor the longer cord, which will be
adjustable. Find the right fit; make sure to have enough space for your hand to
pass through.
Minimize length difference of the two cords by
making the adjustable cord 1 centimeter longer. Mark the ideal length then wear
it as usual to see if it fits. Adjust as needed, and then trim off excess.
STEP 14.
String in the last two beads on each ends of
the bracelet. Knot the ends and melt with lighter to prevent fraying.
Now you’ve given those imperfect beads a new life!


Comments
Post a Comment