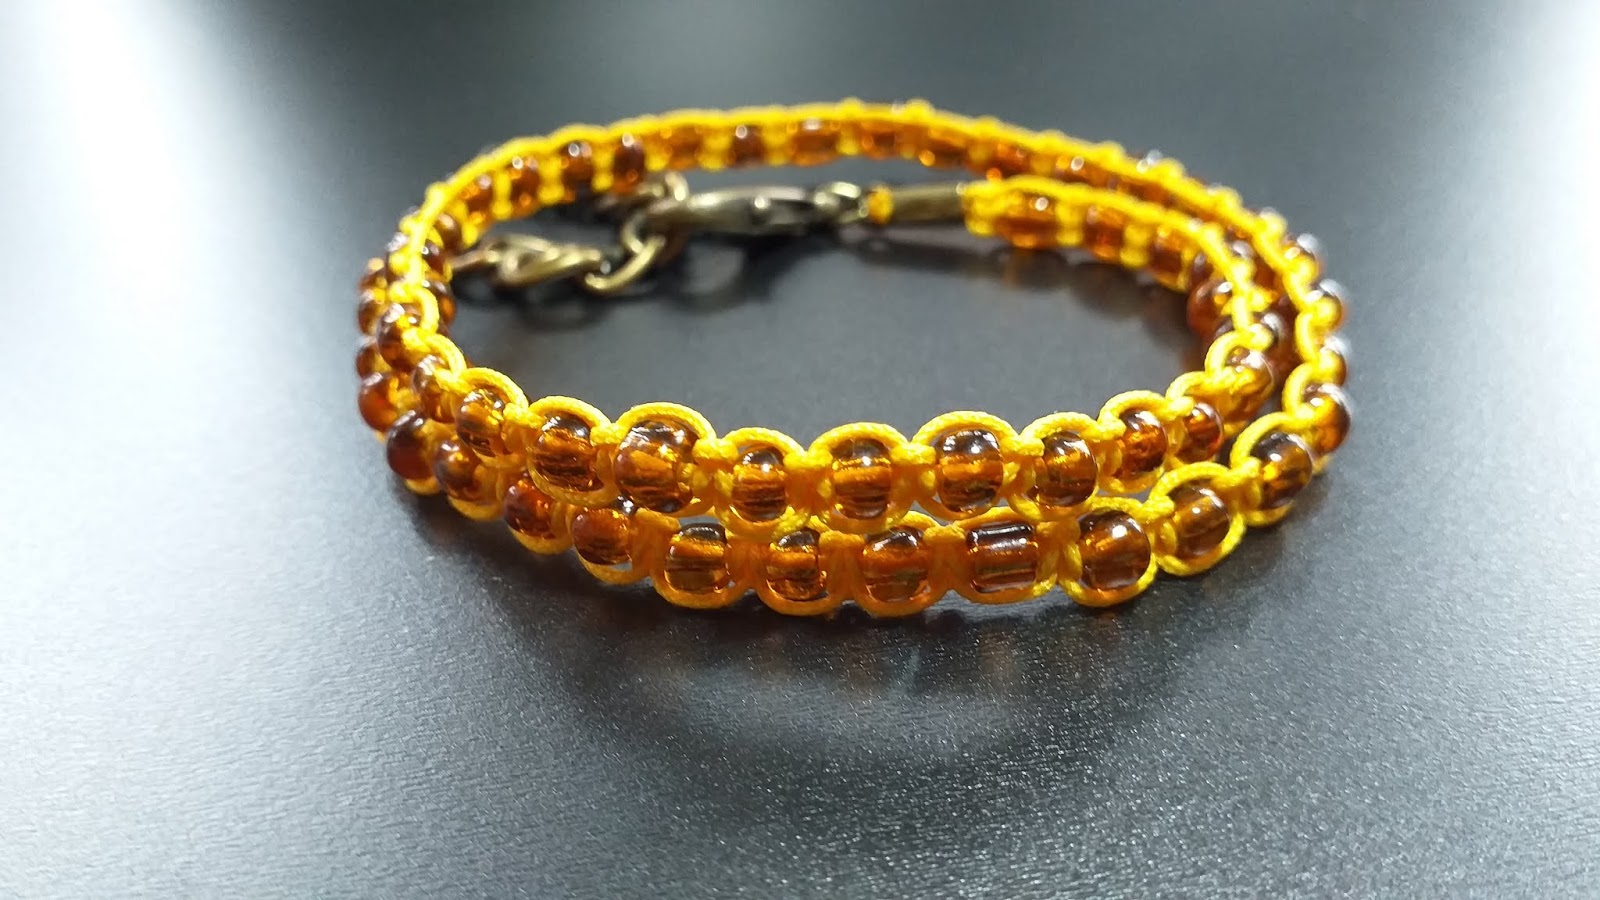
PROJECT 09: WRAP BRACELET
REDESIGNED MULTI-STRAND BRACELET PT.5
We’ve finally come
to the last design. I decided on a wrap bracelet for variety. The beads weren’t
enough to complete 2 rounds around the wrist, I could’ve added more knots to
the bracelet but I didn’t have much time so I just added chains. I think I’ll
be adding more chains in the future to make it wrap around 3 times because I
really like stacking my accessories and the chains give it a more rustic look in my
opinion.😉
MATERIALS:
Yellow String
Brown Beads
Lobster Lock
Cord End
Bead Tip
2 Rings From A
Small Curb Chain
Big Curb Chain
STEP 1
I wasn’t sure how
much I would need so I took about 24” of string. Burn ends to keep from running and tie a knot on one end. Insert
the bead tip until it reaches the knot then close. Trim excess then burn string
ends that are still visible.
|
1
|
2
|
3
|
STEP 2
String in all beads.
| 1 | 2 |
STEP 3
The strings I have came pre-cut in 179”, so I just took one
of those, folded it in half and marked the middle with pencil as reference.
Secure to keep it from moving. We'll start on the end with the bead tip. Put
the long string under the beaded string until you find the middle and do one
square knot.
HOW TO TIE SQUARE KNOT: Take the left
string over the middle string and under the right. Take the right string and
cross it under the middle string and through the loop. Pull strings together to
as tight as you want your bracelet to be. Now take the string on the right over
the middle string and under the left string. Take the left string under the
middle string and through the loop. Pull string together. That’s one square
knot.| 1 | 2 |
|
| 4 |
STEP 4
Insert one bead
and do one square knot. Add one bead after 1 square knot until you reach
desired length.
| 1 | 2 | 3 |
STEP 5
OOPPSS!!👉👈 I went
straight to filming the closing of the bracelet and forgot to take still
pictures! So please forgive this replicated version.
CLOSING: Adjust the finished beaded
square knots to reach the bead tip if needed. Take the middle string and bring
it around the 2 long strings, creating a loop. Insert the string from under the
loop so all strings are facing the same direction and pull tight.
| 1 | 2 |
| 4 |
5
STEP 6
Take the cord end
and place all 3 strings, with the closing knot, inside the cord end before
closing.
| 1 | 2 |
STEP 7
Connect lobster
lock to bracelet with one small curb chain. With the other small curb chain,
connect the bracelet with the big curb chain. Wear wrap bracelet to fit and
count chains you need to retain for desired length. Take off and remove excess
chain.
| 1 | 2 | 3 |
And that’s it for the Redesigned Multi-strand Bracelet series! I was able to make 5 designs and 6 pieces that I can wear together or with other pieces. I’m so glad I started recycling old accessories that would’ve otherwise ended in the landfill. There’s joy and excitement in seeing the new looks and knowing they’ll be worn again. ❤
- 🌻 -


Comments
Post a Comment